While sweeping the floor, I figured I should get a cleaning robot sometime soon. But after checking the options, I thought I could also build a simple cleaning robot myself. So the next project idea was born. But to not have another multi month long endeavour, I set myself some boundaries.
- No new hardware (Only parts I can find at home)
- No more than 3 days of tinkering (I got close)
- No complex or complicated software
- No hard modifications to my beloved Swiffer
- The bot must be autonomous and should not require frequent attention
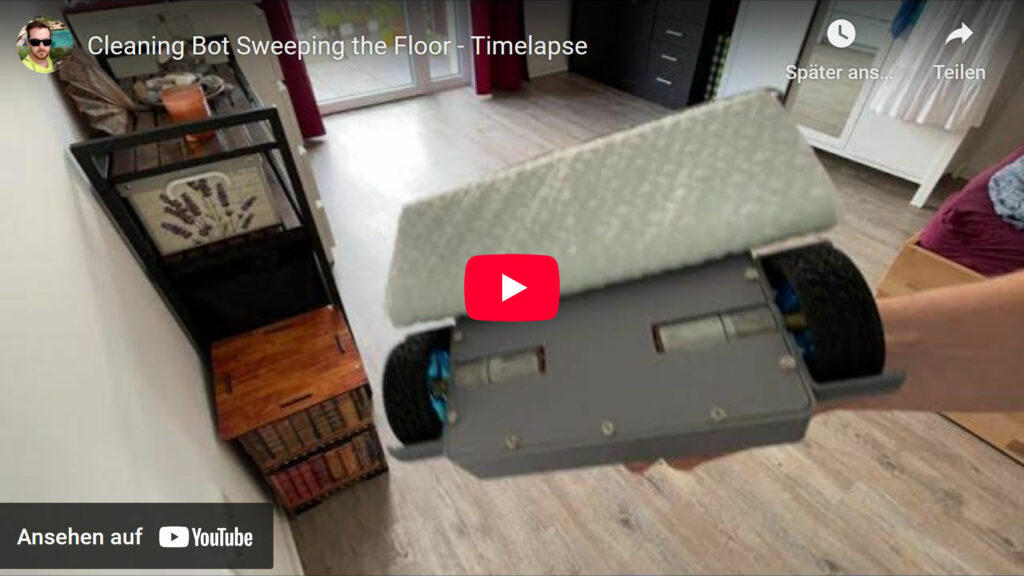
After the goals were set, I got to work. But as a short preview and in case you don’t want to read through all of the article, here is the result in action
To get to this point, I had to solve some key challenges.
Movement

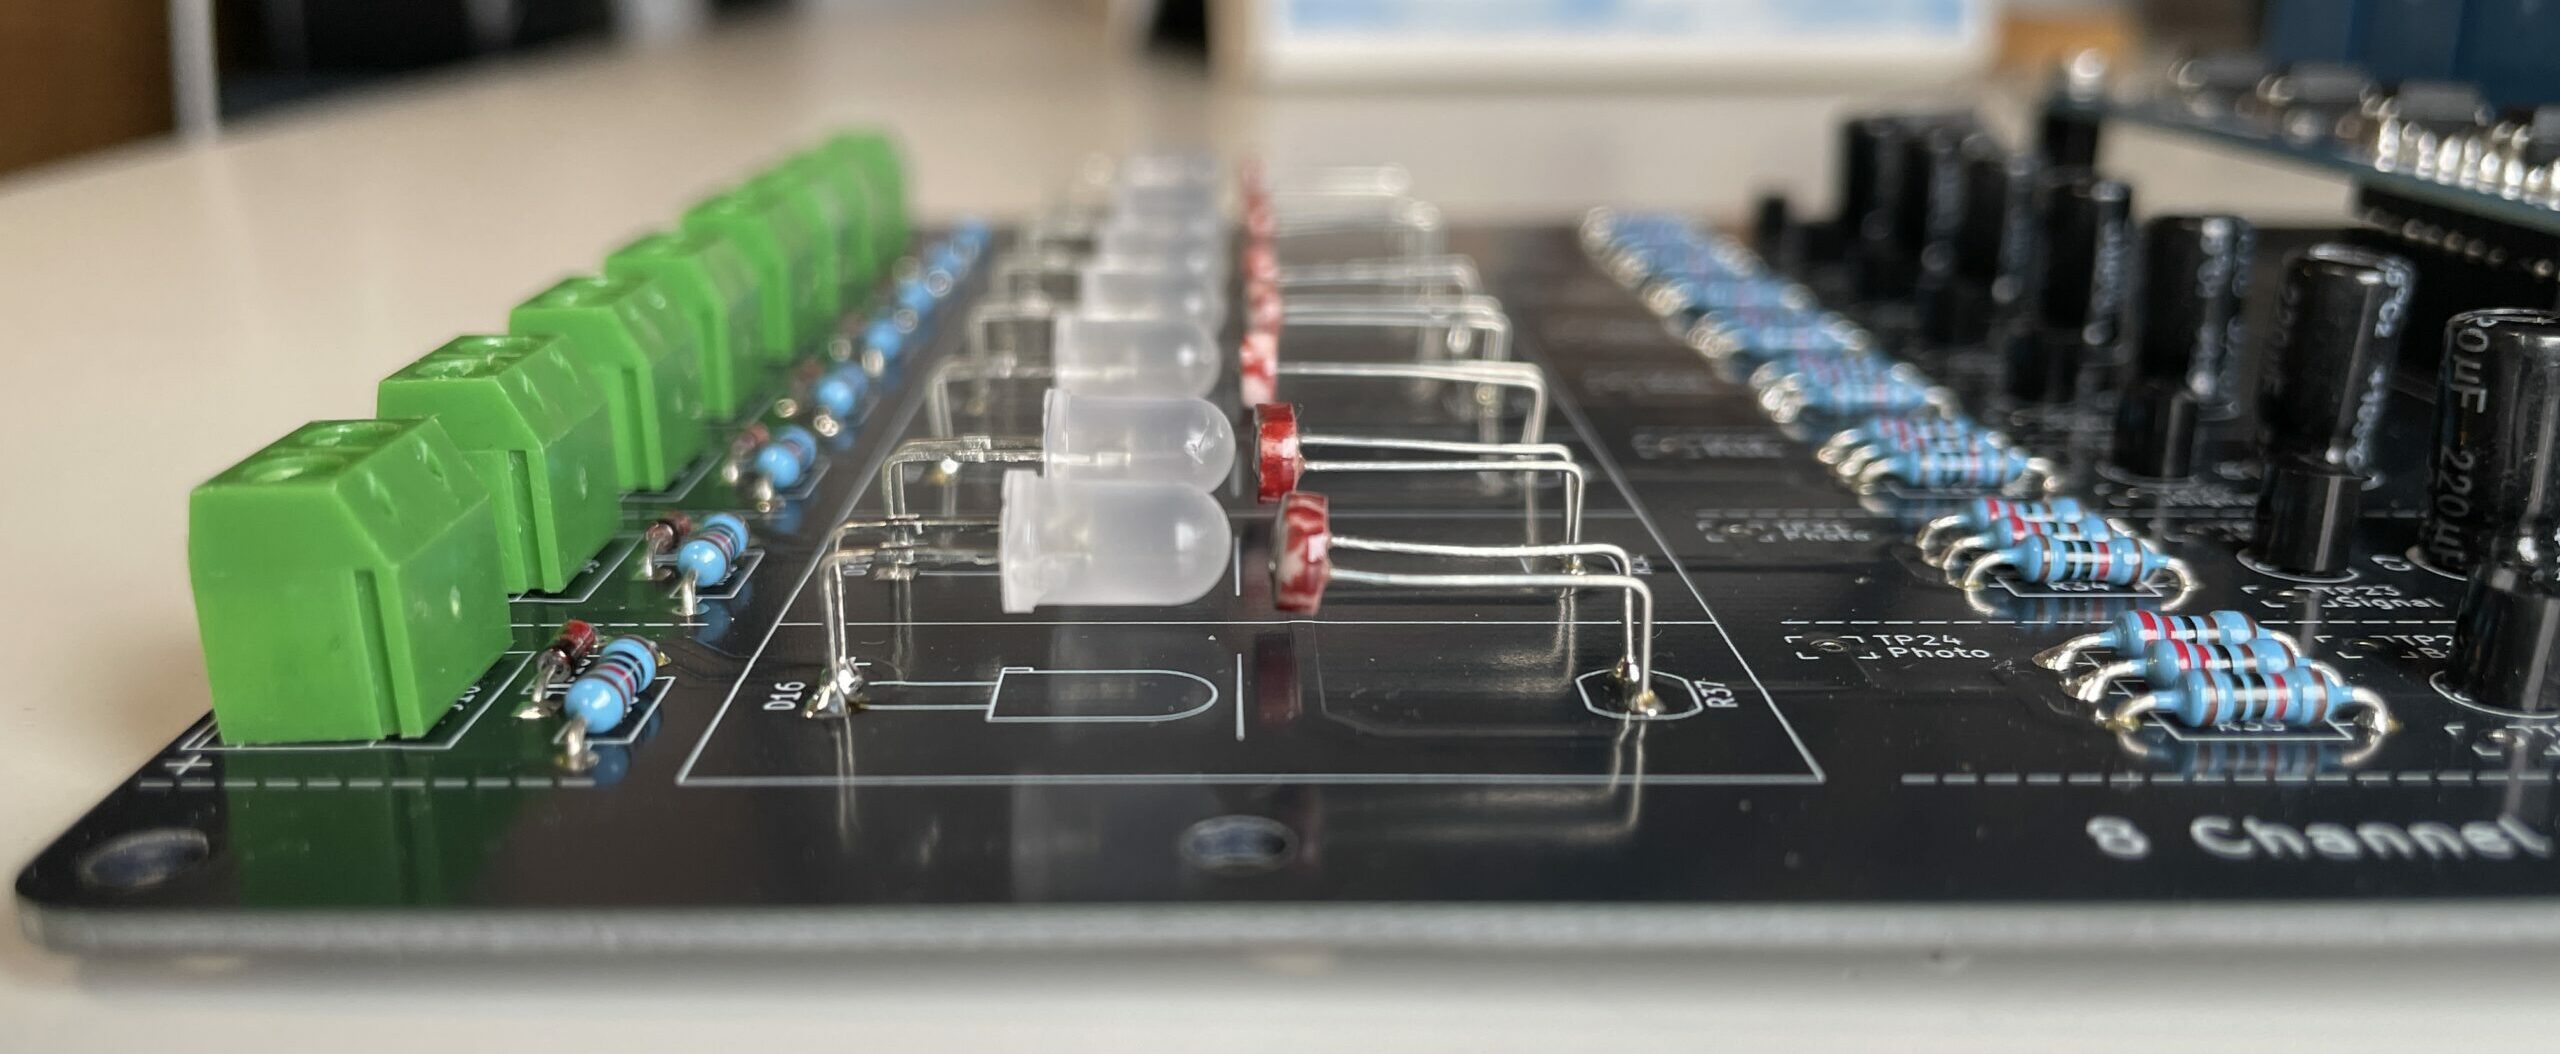
The most important part of a cleaning robot is of course its ability to move around. So I started by checking what I could use as motors and wheels. I luckily found some old geared encoded DC motors from an early Dot Bot version. Those were great since they were slow and relatively powerful, which meant that they were a perfect fit for the job. I also found the motor driver that I got with these motors and wired them together to get going.
Power

For the power source, I knew that it had to be something safe, rechargeable and sturdy. An old trusty powerbank was therefore my power source of choice. However, I noticed that those 12 V DC motors were barely getting enough power to run on the power banks 5V, and with the wasteful L298N motor driver and its voltage drop, only ~4 V were actually available to the motors. This was too little to do any serious cleaning work.

Thankfully, ChatGPT recommended I could use a boost circuit. I checked my electronics boxes and found a bag of DC to DC step up modules that were perfect for this application. With the now increased voltage (I choose around 8V), the motors can get plenty of power from the power bank and I don’t even use their full potential to not make the robot go too fast.
Sensing

Since the robot needs to interact with the world, it has to have some sort of sensing capability. To not overcomplicate things, I wanted the robot to have an extremely limited view of the world to keep the control logic simple. The robot should therefore only be able to detect collisions. I checked if I had microswitches but the only regular push buttons. This was not a big issue since I could just design a fitting mechanism around these buttons. I went ahead and designed whiskers that can push these buttons when in contact with a wall.
Controlling

As the brain of the robot, I used an ESP8266 D1 mini, mainly because of its compact size. After wiring the prototype up, I told ChatGPT about my complete setup and asked it to write the code. And I must say ChatGPT delivered. This is the first project, where I outsourced all of the programming to an AI and I am just blown away by the result. After years of tinkering and many projects, it is incredible to see how far AI has already come. It still took some iterations to get to the final firmware, but mainly because I had new feature requests after every version I tested.
In the end, the requirements for the software became the following:
- Use ramps to accelerate, to not exceed the powerbanks max current
- Go forward until one of the sensors detects a collision
- On collision, stop immediately, go backwards, turn in a random direction and go forward again
- If no wall is detected for 30 seconds, the robot goes to standby and can be woken up by triggering one of the sensors. *
- If a sensor gets stuck in its on position, the robot goes to standby until the sensor gets cleared. **
* This is a safety feature for when the robot gets stuck with its sensors in a non pressed position. Without this feature, the robot would try to spin its wheels indefinitely and depending on the nature of the failure, burn out the motors or the motor driver.
** This safety feature comes into play if the robot can’t get the sensor unstuck by going backwards.
Iterative Improvements
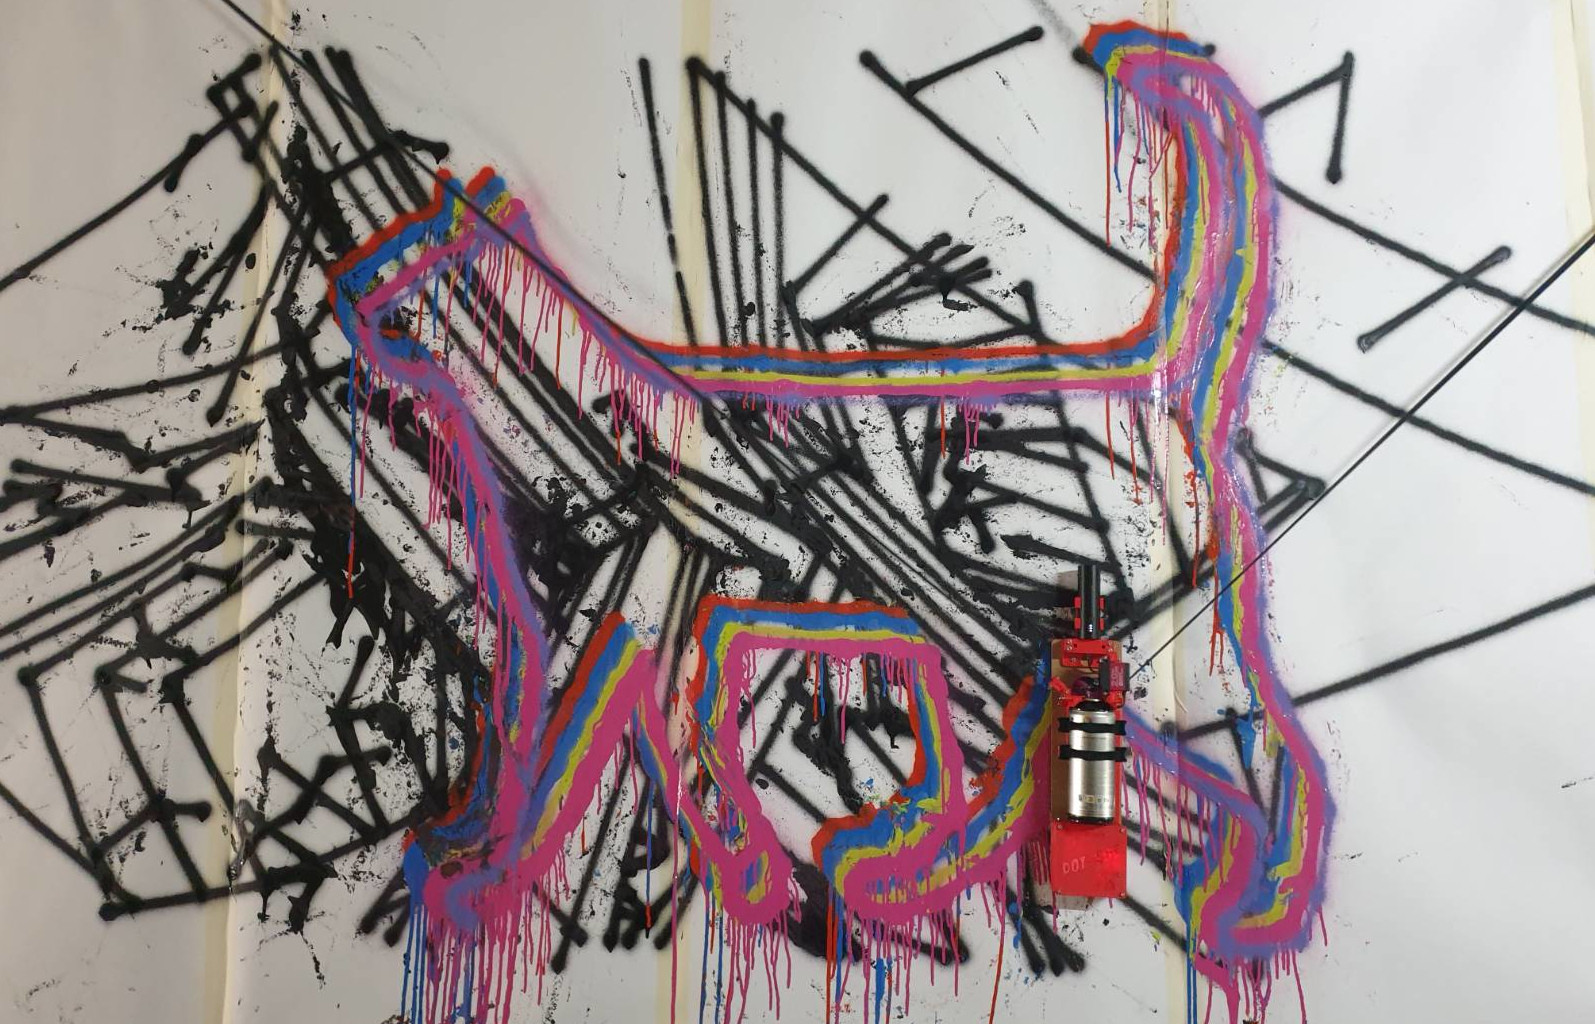
Everytime a new version of the prototype was ready, I simply let the robot roam around until it got stuck or broke down, and then fixed the cause.
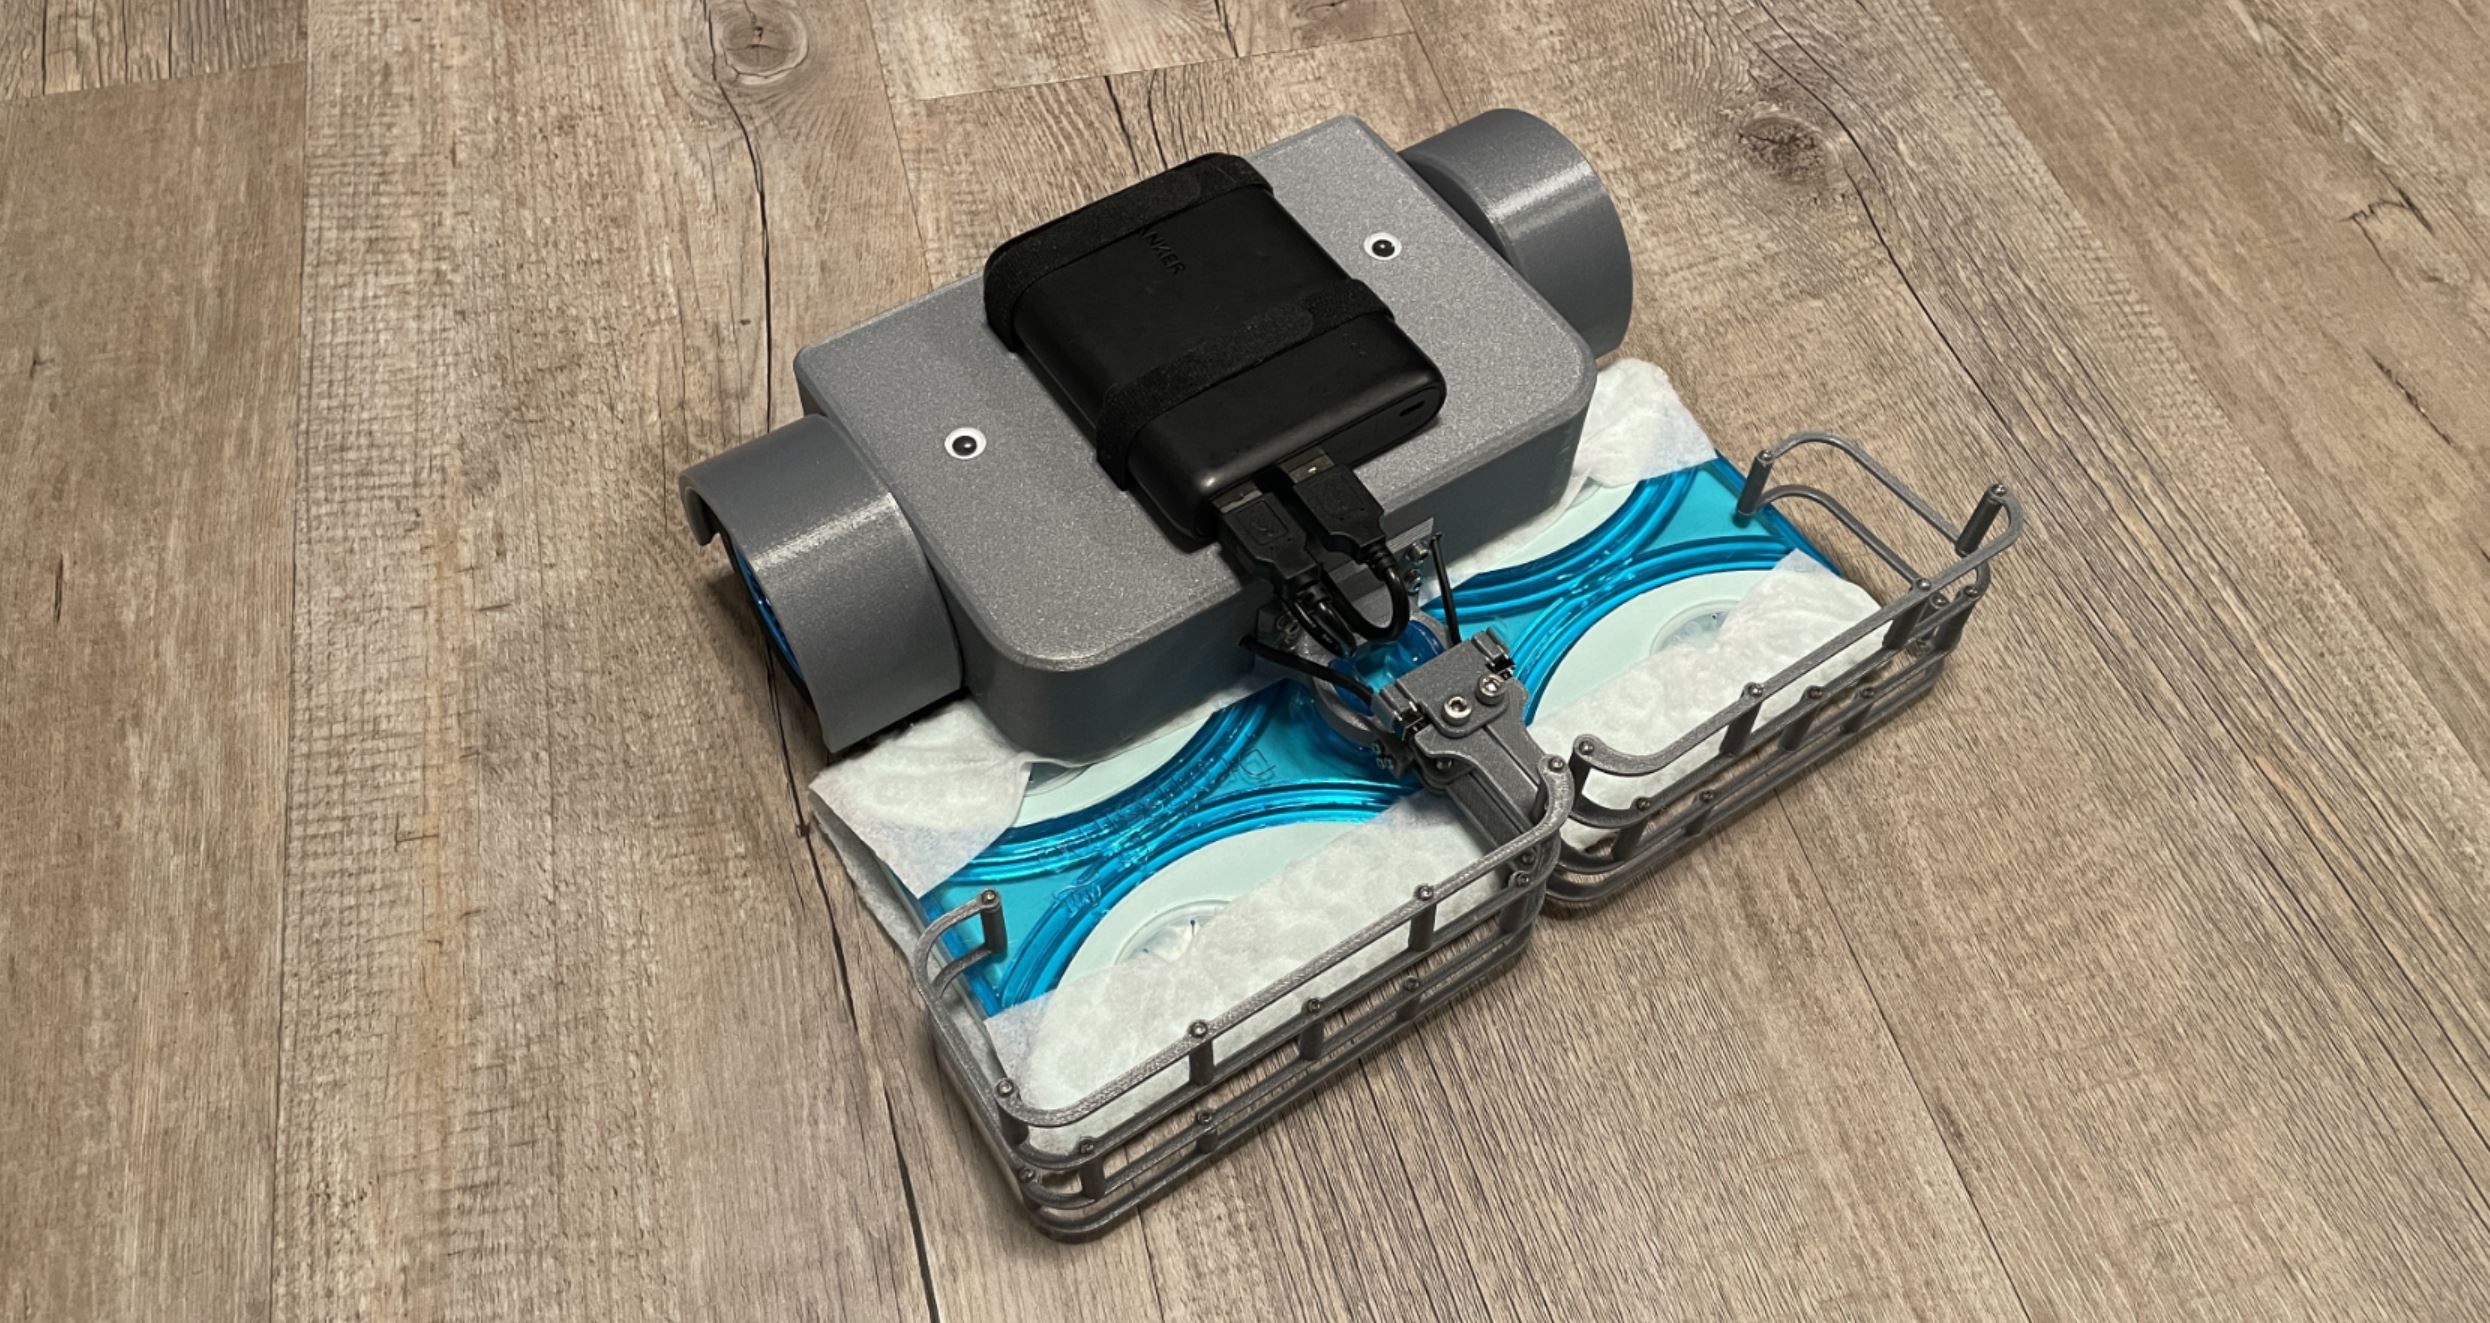
Some noticeable improvements that were made along the way are the vertical size of the whiskers, which were initially only a line and now go from the very bottom to the full height of the robot, and the elimination of a blind spot in the front as well as some structural reinforcements on the most stressed spots. When the robot was feature complete, I decided to spend one more day designing a new enclosure that encapsulates all the electronics and makes the robot look nice and clean.


Conclusion
Now in its final form, the robot is able to roam almost indefinitely in my apartment, without ever getting stuck. The power bank has plenty of juice to clean the apartment multiple times. The safety features take care of unforeseen edge cases and the robot can clean without needing any attention from my part… Only the cleaning pads need to be changed every few hours because they get really dusty. Maybe I should build a robot that can change them for me… ? 🙂


If you have a task that you need to automate, either with a custom robot or a pure software solution, please write me an email and I’ll get your project moving forward!