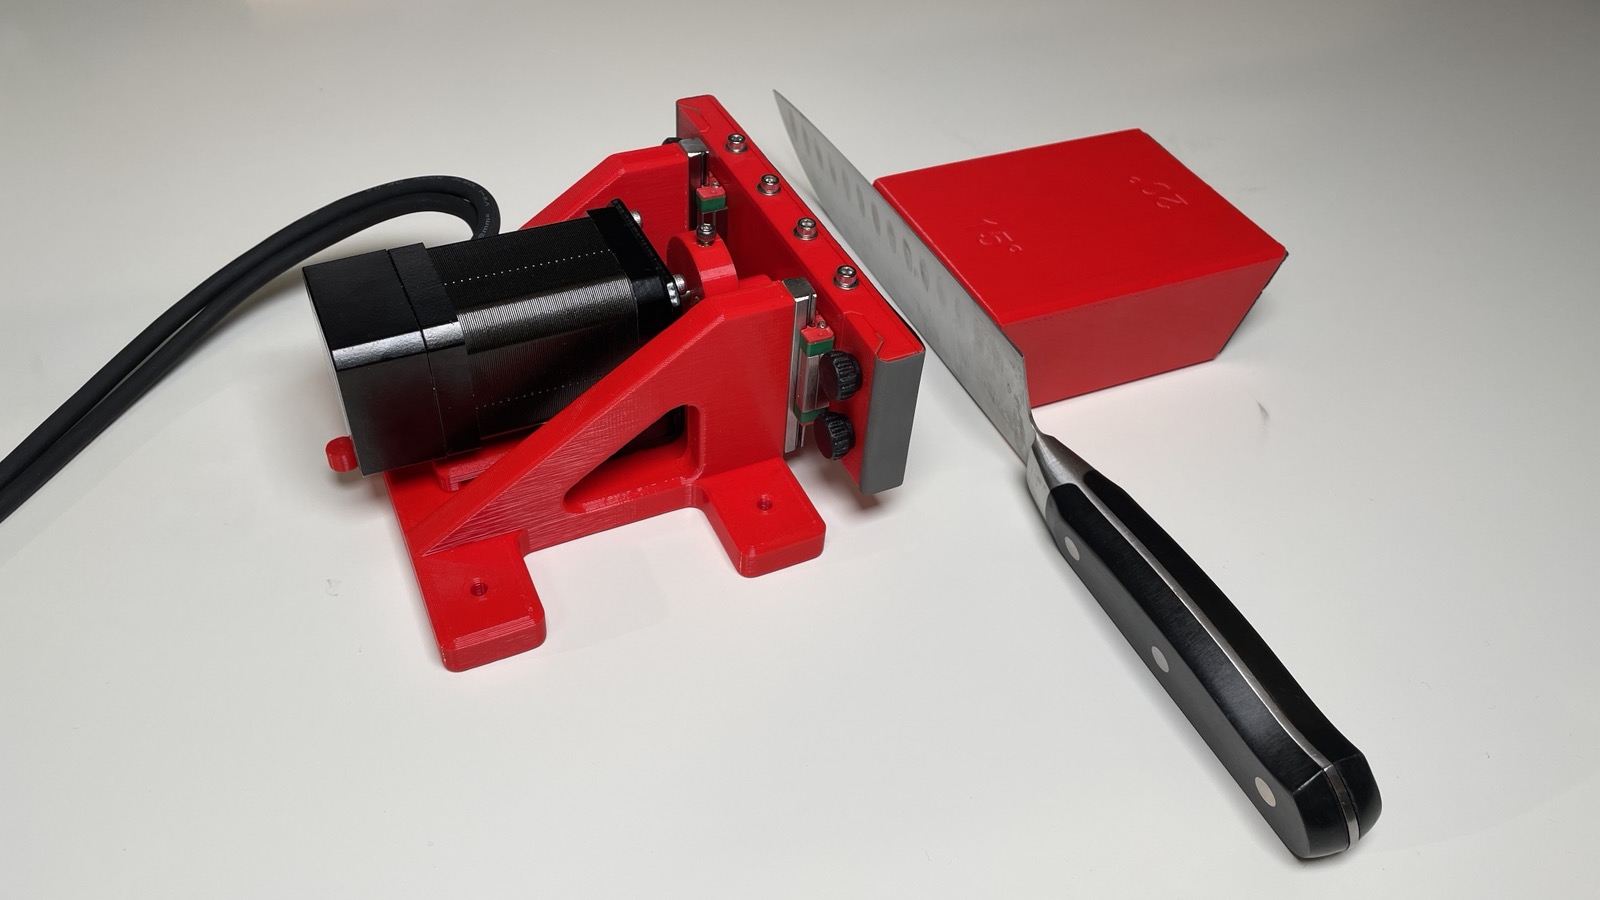
While building things, I often run into similar challenges. One of those is precision sanding. Usually, clamping the workpiece into a vice and grabbing a file gets you 80% there. But often enough it bugged me that I didn’t have anything to get closer to perfect that I decided I have to get a solution. There are tools you can buy, but they are usually too big or too noisy for my limited appartement workbench space. I wanted something with a small footprint but still versatile.
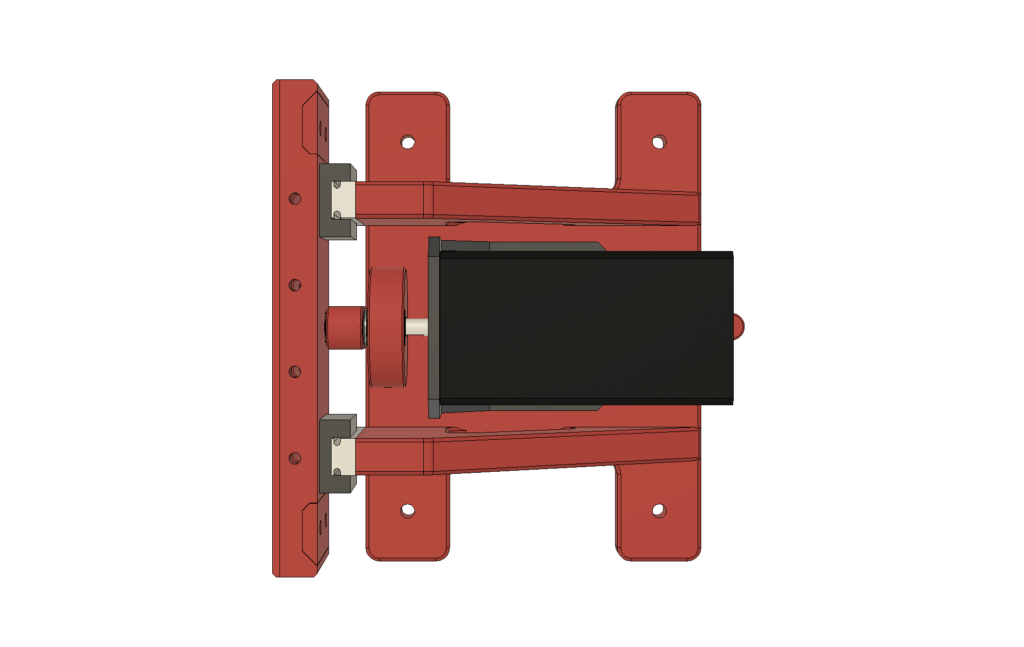
I came up with a compact 100% custom 3D printable sanding station that is driven by a standard Nema 17 stepper motor, with an eccentric linkage. It moves a plane with a stripe of sandpaper continuously up and down. Apart from 3D printed parts, it only uses readily available components such as linear rails, brass bushings threaded inserts washers and screws.
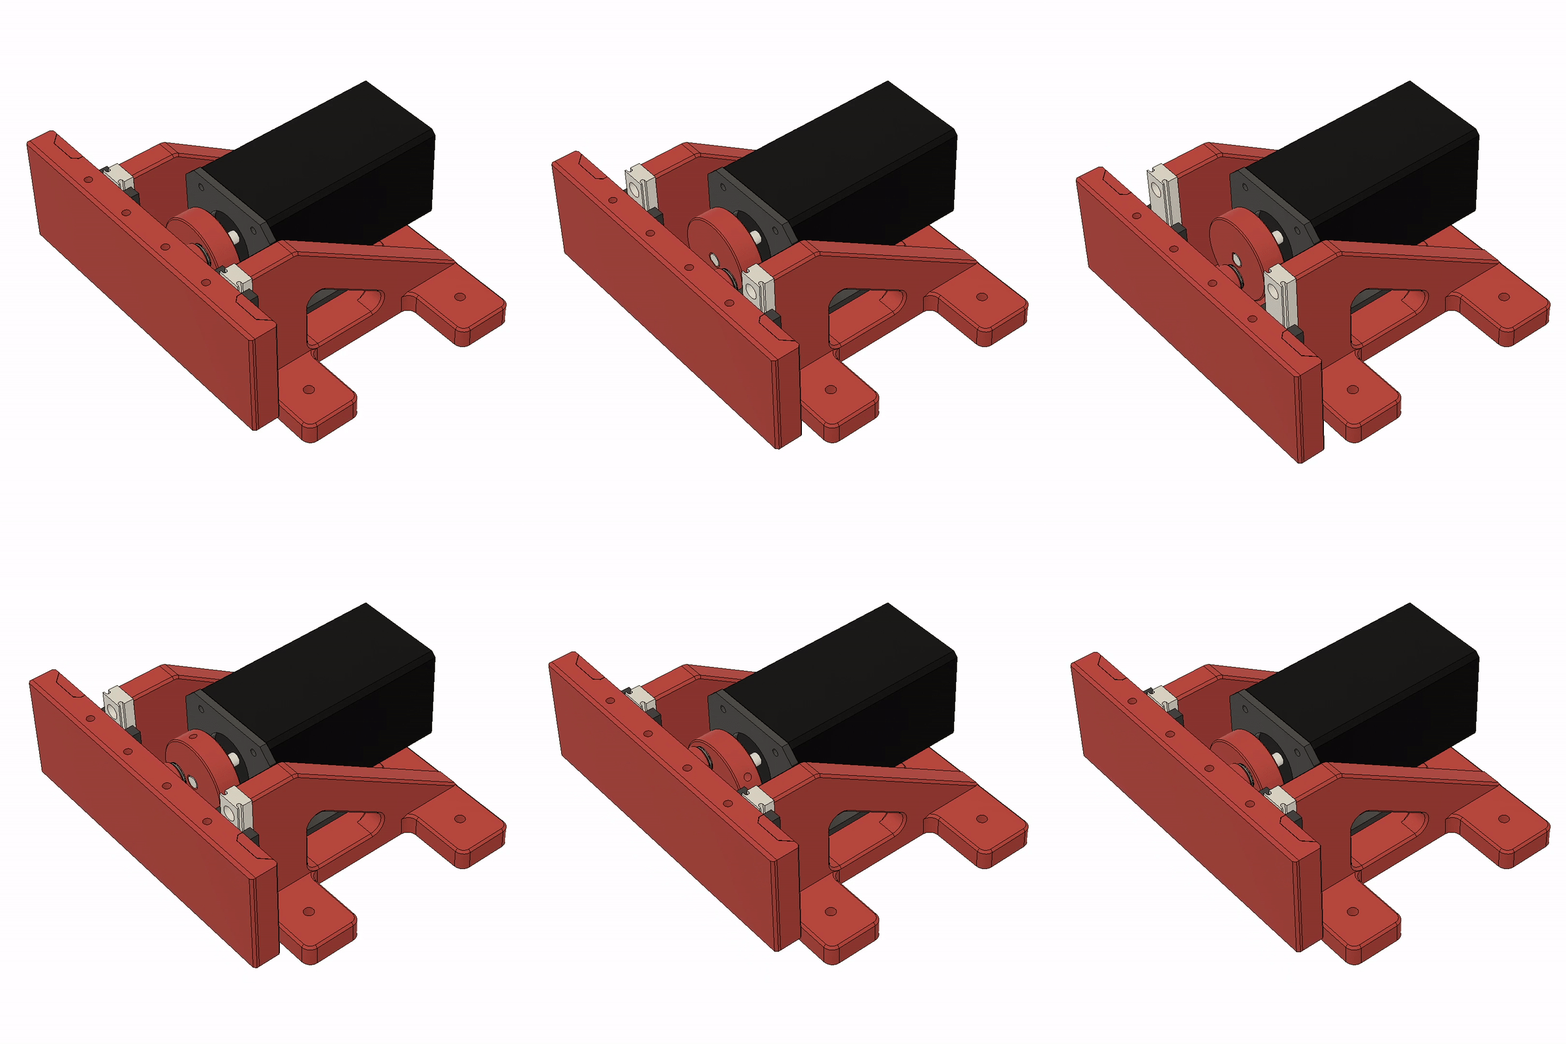
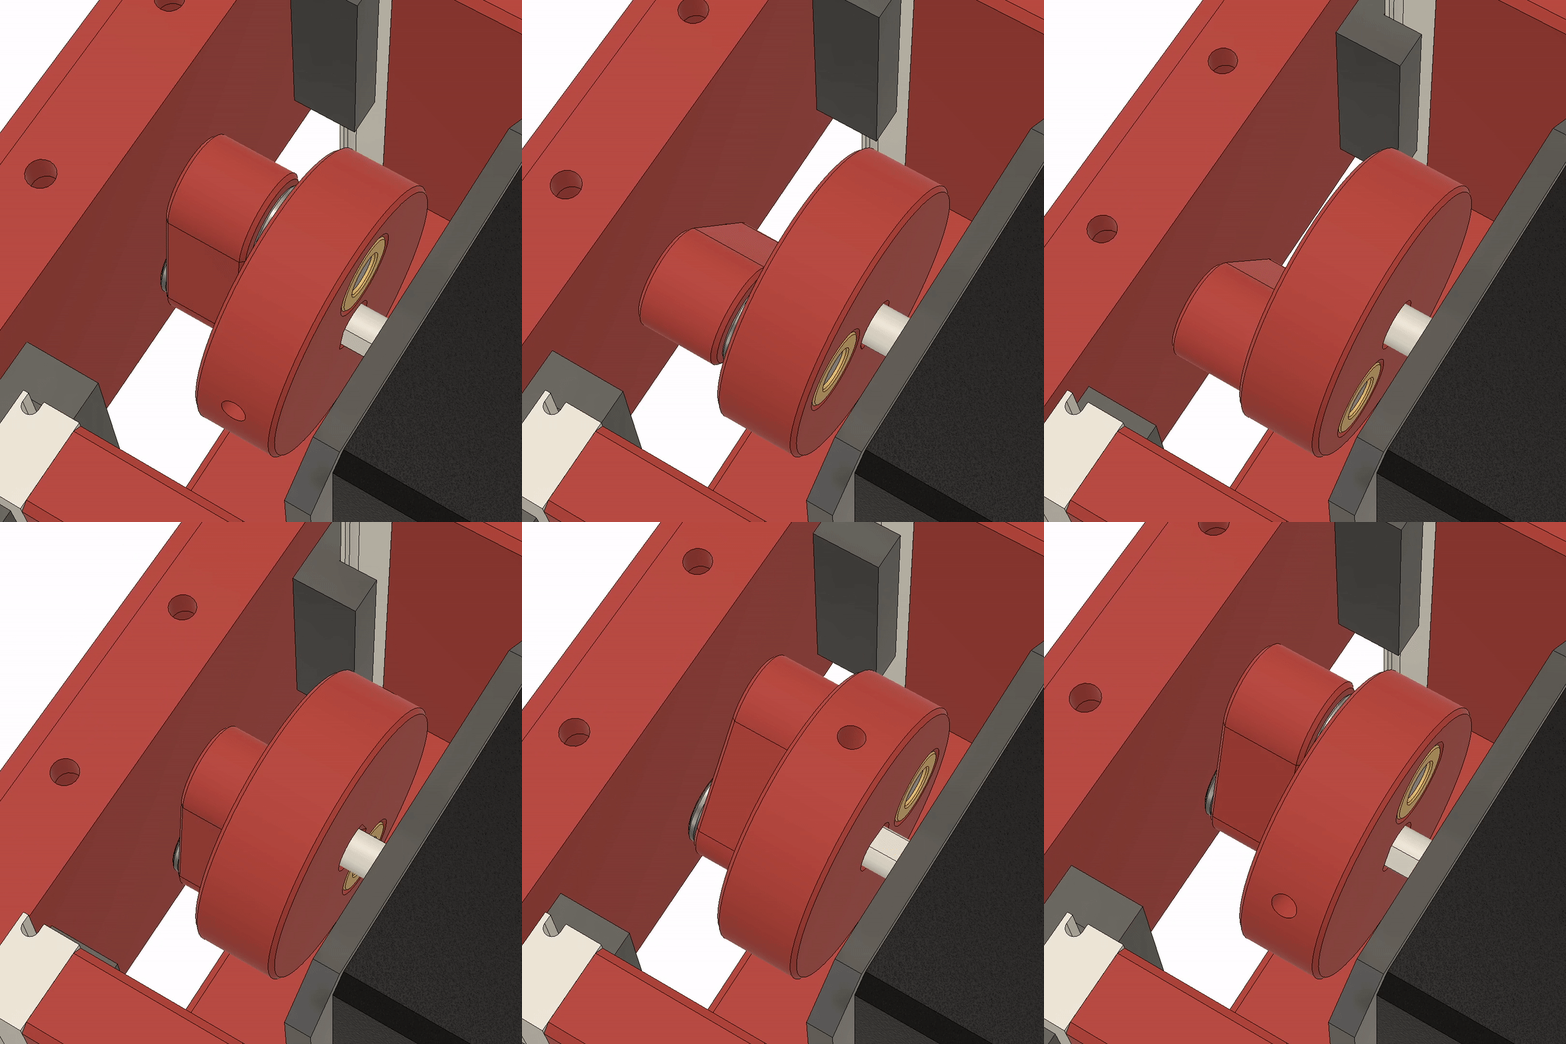
After two evenings in CAD and some test parts, I was happy with my design and printed all of the files in PETG. The assembly was straight forward and the sanding station worked nicely. After using the tool for a while, I noticed slack in the hole in which the axils rotate in. That was when I decided that I cannot have a moving axil rotate in PETG and added the brass bushings. Now, the slack is gone and I can even run the machine at higher RPM.
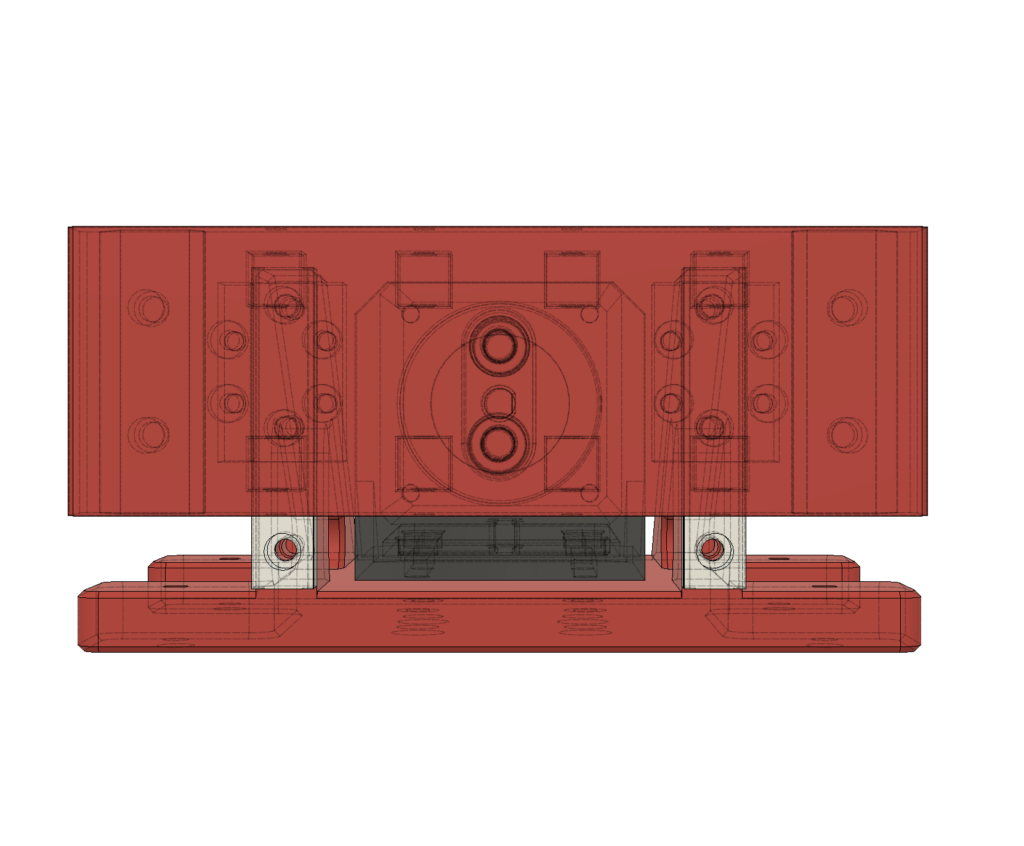
The design allows for quick changing of sanding paper and has clamping points to secure the tool permanently or temporary to the working area. Through the linear rails, no forces are forwarded to the motor which should increase its lifespan dramatically.
After I was happy with the sanding station, I designed another part that works as a precision holder for knives. It has two sides with different angles at exactly 15° & 20°. The knives are held in place by two 50kg magnets and an anti skid surface. The print itself is filled with steel ball bearings to maximise the weight to ensure the knives do not move.
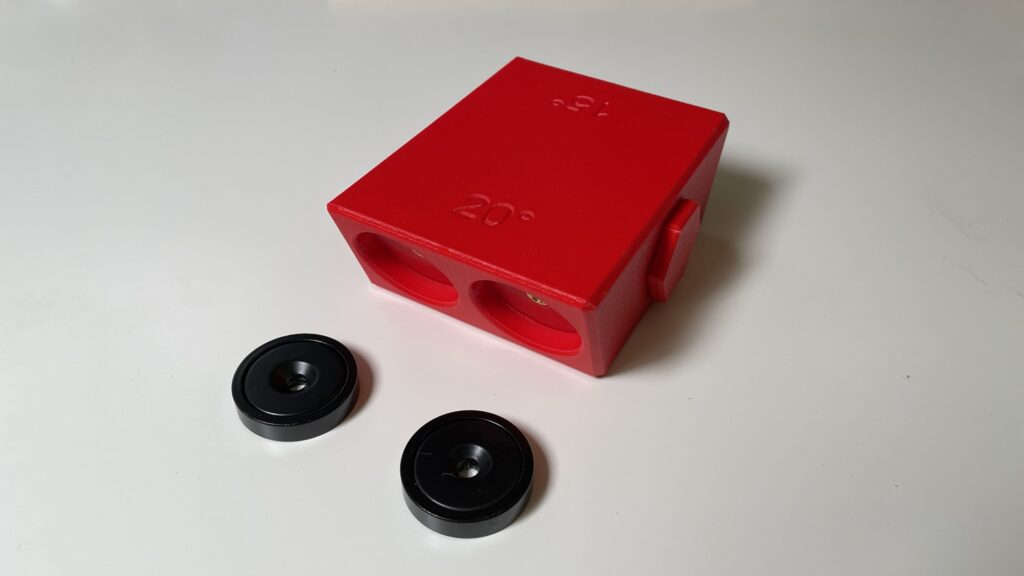
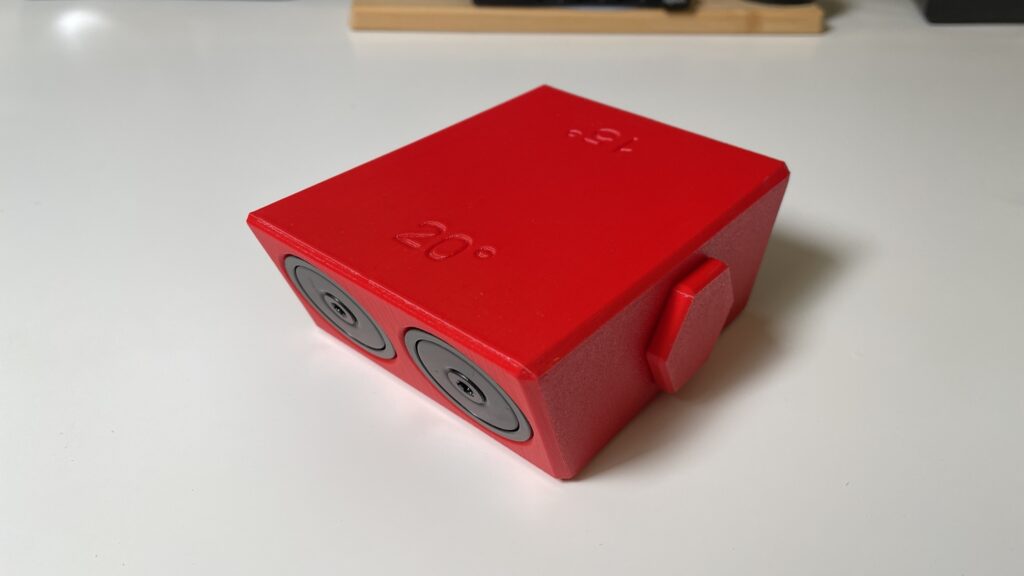
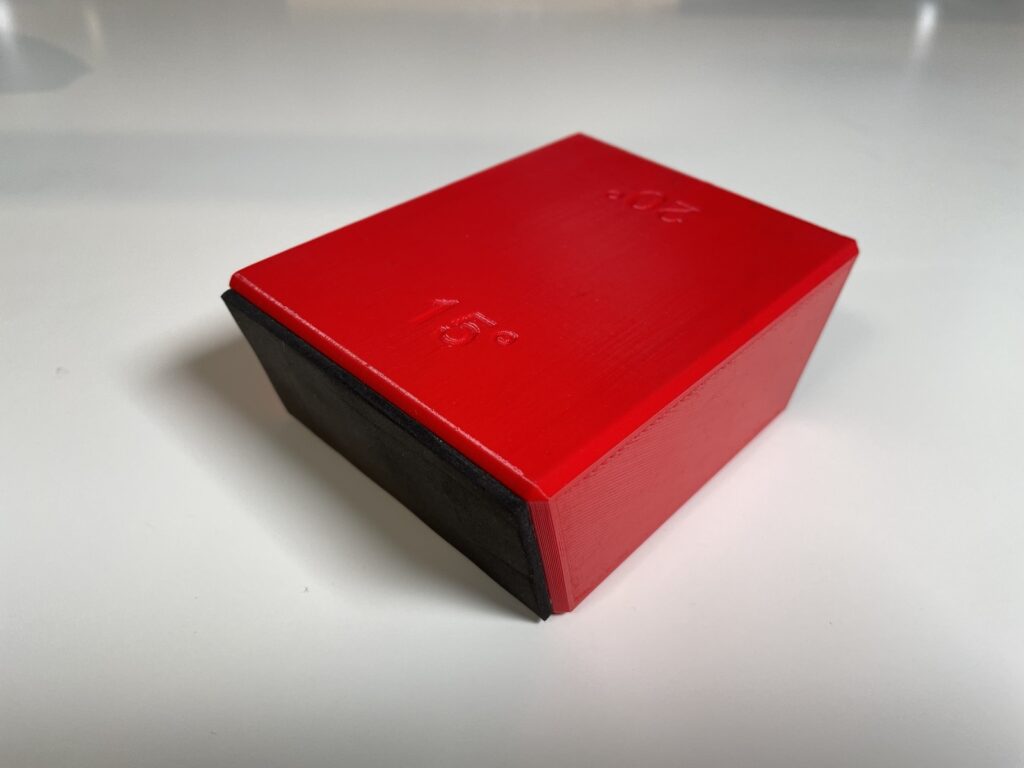
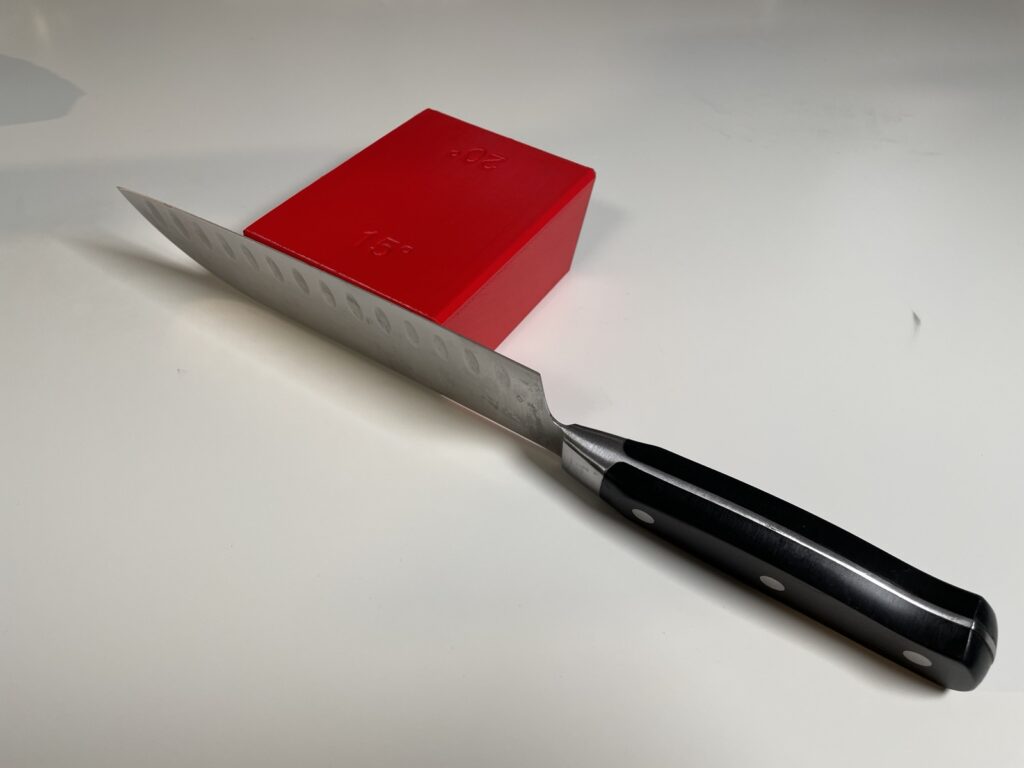
With this helper, sanding knives is extremely straightforward. You start with a coarse piece of sandpaper and go over the entire length of the blade. You turn the blade around and do the same for the other side. Then you exchange the sandpaper for a new piece with a finer grain size. A good rule of thumb is to approximately double the number on the sandpaper for every pass. E.g. 160, 300, 600, 1000, 2000, 3000. After this procedure the edge of is perfectly uniform and razor sharp. The two angles from the holding block are the most common for kitchen knives with fifteen degrees for all purpose knives and twenty degrees for razor sharp filleting knives.
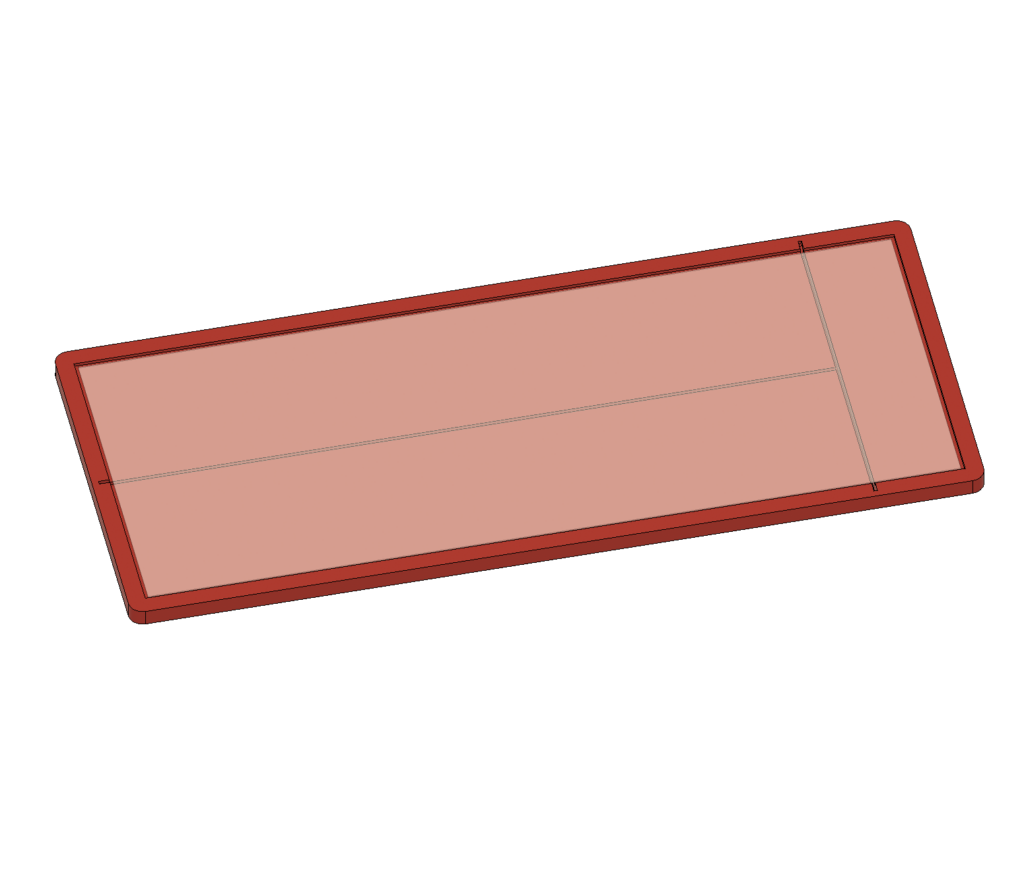
Finally, I designed a cutting helper to facilitate the cutting of the sandpaper strips. They can be cut from standard 23 cm x 9 cm sandpaper sheets.
All in all, I used this contraption now for several axils and knives, and I must say that it works far better than I anticipated my DIY solution. If you need a custom tool to improve your workflow, do not hesitate to contact me through my email address.