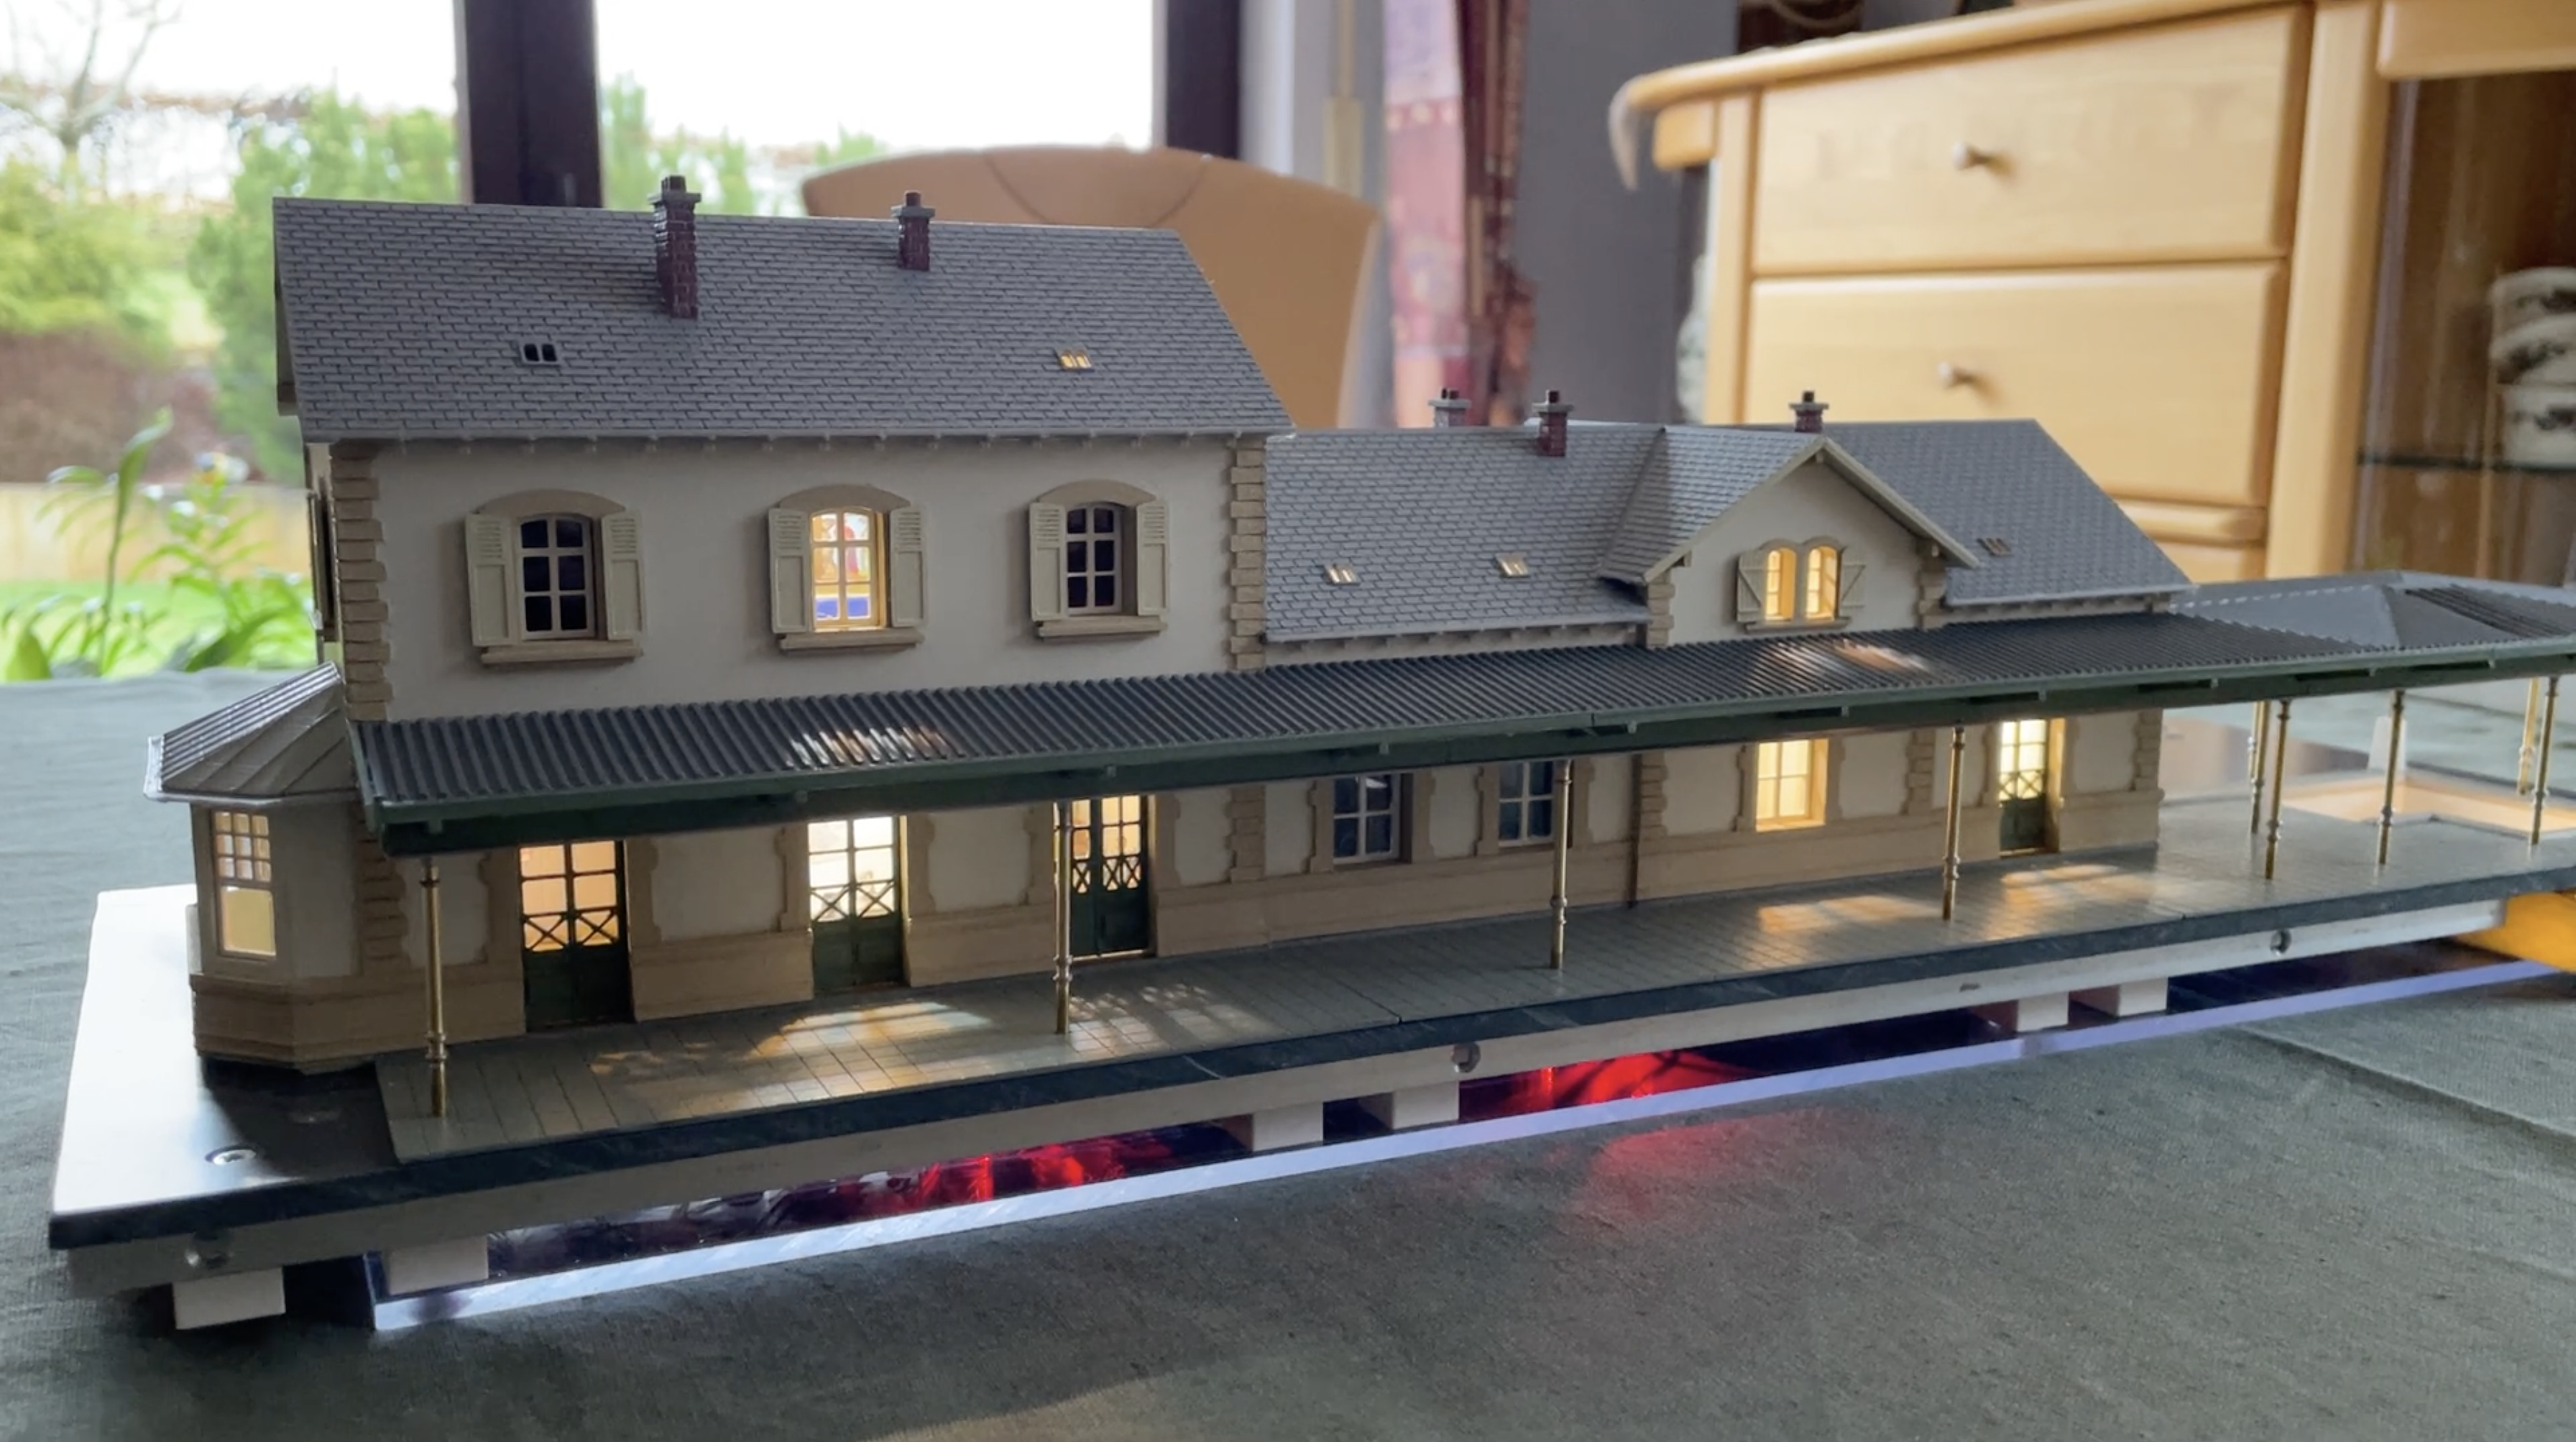
About a year ago, my dad asked me if I knew a way to control a bunch of tiny LEDs to light up his model railway buildings. At the time, I didn’t have an immediate solution, but I was up for the challenge. He had a straightforward wishlist: lots of LEDs, easy brightness adjustments, and some random events to add a bit of life to the mix. Last Christmas break, I finally started. Over the course of 3 months, this became my main side project and I put way more energy into this than I expected. But the outcome is totally worth it.
Here is a video showing the entire project in detail.
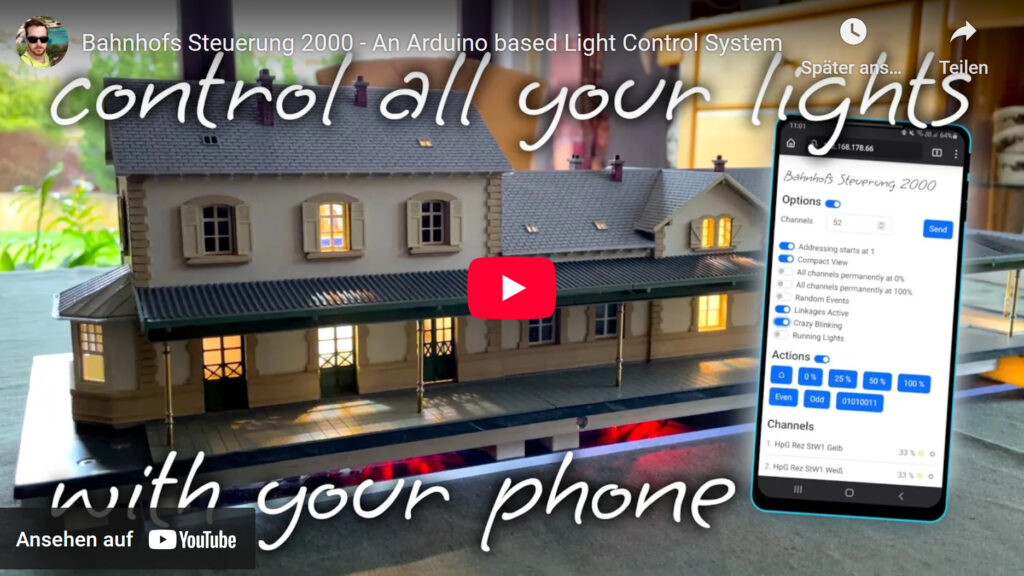
And here a tldr, if you don’t want to watch through the entire video:
Initially, my plan was pretty basic – a small control box with an Arduino, a rotary encoder, and a small display to control the LED’s. But then, a friend needed help with his Arduino-based LED strip controller, which used a whole different approach, involving a WiFi-capable Arduino that doubled as a tiny web server. After helping him out, it struck me that this approach was perfect for my dad’s railway lighting.
Fast forward a few months, over Christmas at my parents’ place, I brought along a WiFi-enabled Arduino microcontroller and a PWM board. With my dad’s stash of components, we had everything needed for our first prototype, and in just three months, we went from concept to completion with Bahnhofs Steuerung 2000 version 1.0, exceeding my dad’s expectation in every way.
The current state of our project is an open-source, free-to-use platform capable of controlling up to 256 LEDs with this specific Arduino model. Everything is controllable via a user-friendly and internationalized Web App, supporting multiple languages. We’ve added features like LED grouping, customizable event frequencies, and channel names, all backed by an external EEPROM for persistent data storage, even while reprogramming.
Feel free to download the project from my Gitlab repo, and I’d love to see what you create with it! And if you’re curious about the building and its history, check out my father’s blog here – it’s in German, but the photos alone are worth a look. The main building is documented here and the side buildings are documented here. He also added an entire blogbost describing the light controlling, which can be accessed through this link.
What makes me proud is the fact that the Arduino team saw this project and decided to write an article for their blog about it.
Furthermore, I won the Electromaker of the Month award with this project!
If you want any custom modifications to this project or have a whole different project idea in mind, please contact me using this email address.

One thought on “Bahnhofs Steuerung 2000”
Comments are closed.