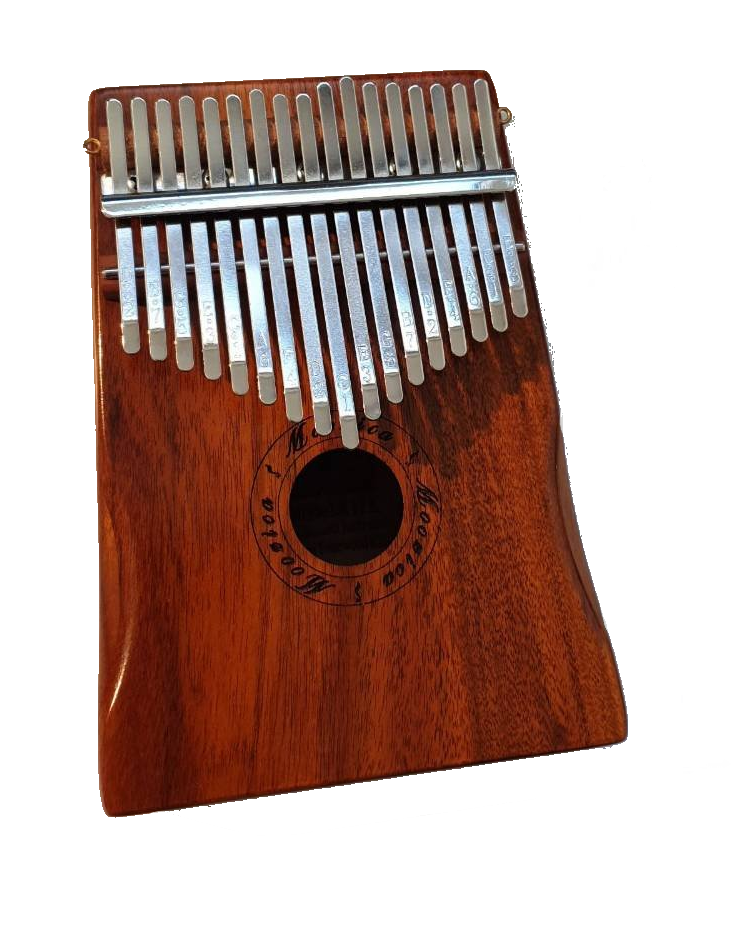
2020 was quite the boring year. To ease things up a little, I bought myself a Kalimba from that online marketplace we all overused by a lot. Learning to play a new instrument is always a lot of fun, but as with every new hobby, you sooner or later get to a point where the learning curve flattens, and you cannot feel that quick progress from the beginning anymore. At that point, I thought there must be a way to help me gain traction again. I imagined some sort of trainer, maybe a robot that can show you how to play.
For a long time, I wanted to do an electronics / microcontroller project again and thought that maybe I could combine these ideas. So back to that online marketplace, ordering the “most complete” Arduino starter kit available, a whole lot of these cheap blue servos and two servo controller boards, since some quick research showed that hooking lots of servos to an Arduino is otherwise pretty difficult.
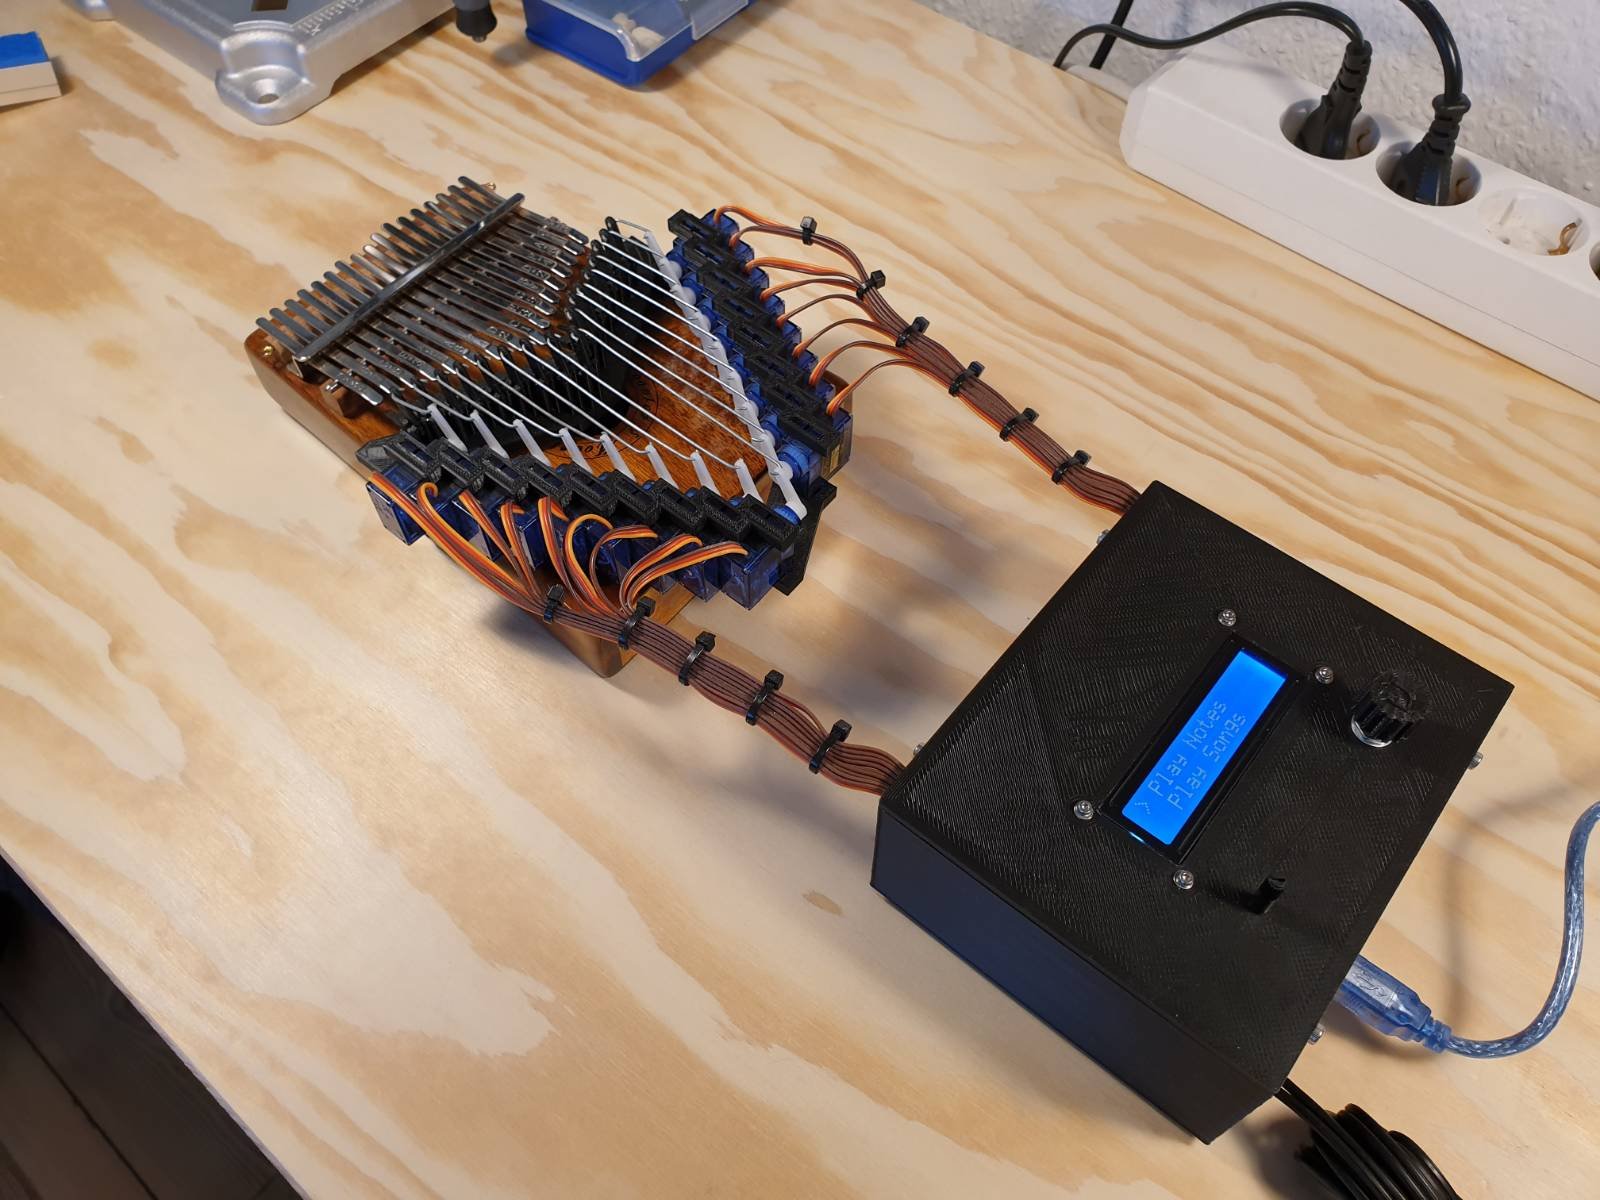
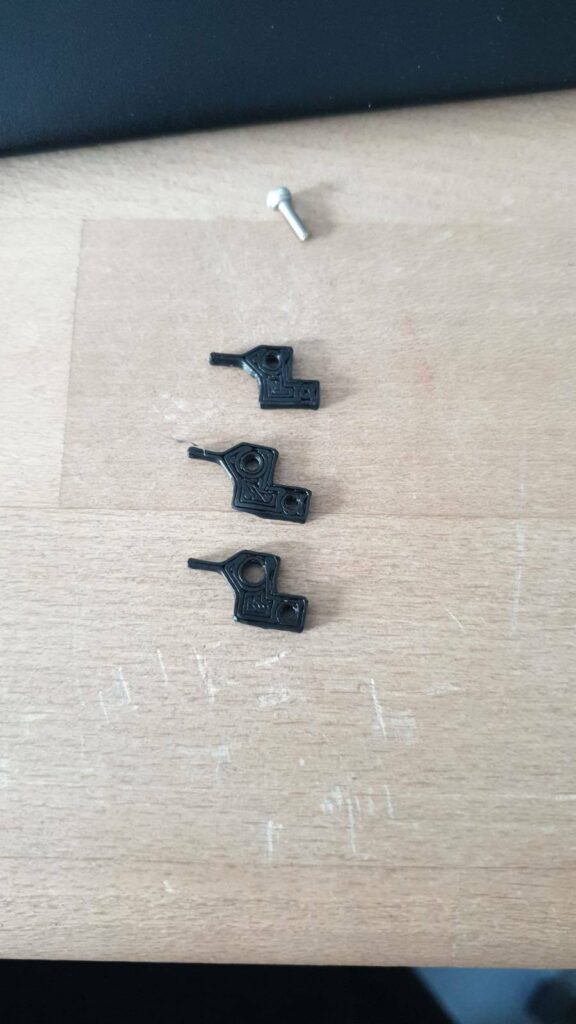
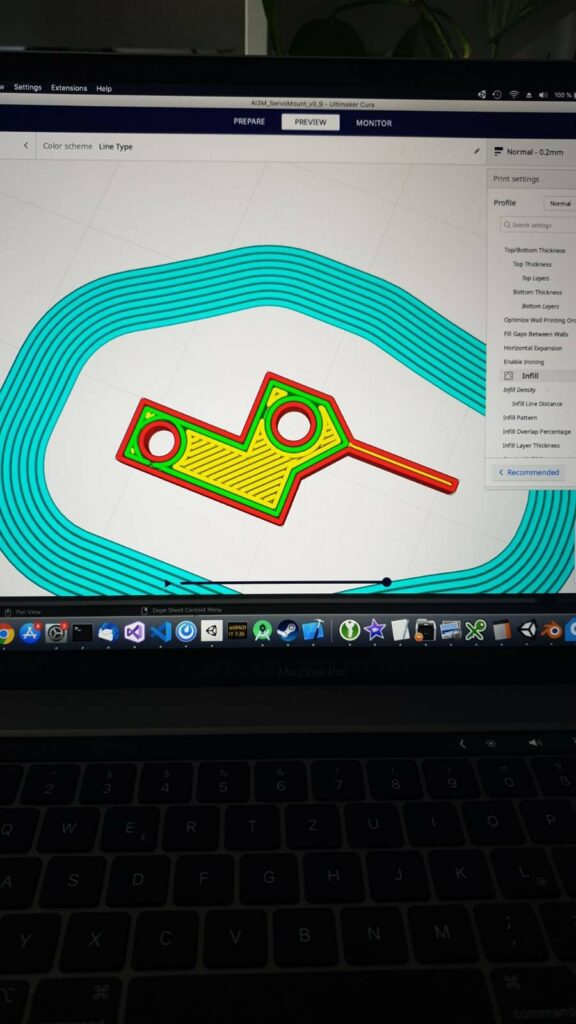
After some days, all the packages arrived and I started tinkering around with my new Arduino board and some servos. I designed and 3D printed a few basic servo mounts and tested what arrangements would work the best. But soon, I discovered the first big challenge for this project, which was finding a way to simulate “fingers” in order to play the Kalimba notes. Every attempt to 3D print a tip that could play a note repeatedly failed because of material fatigue, since I only had PLA at hand. After some research, I found which materials are suited for bending and learned that nylon is a good fit. So I got creative and designed a way to fit pieces of zip ties (which are usually made from nylon) into my printed hinges and it worked perfectly.
Some of my 3D printed “fingers”:
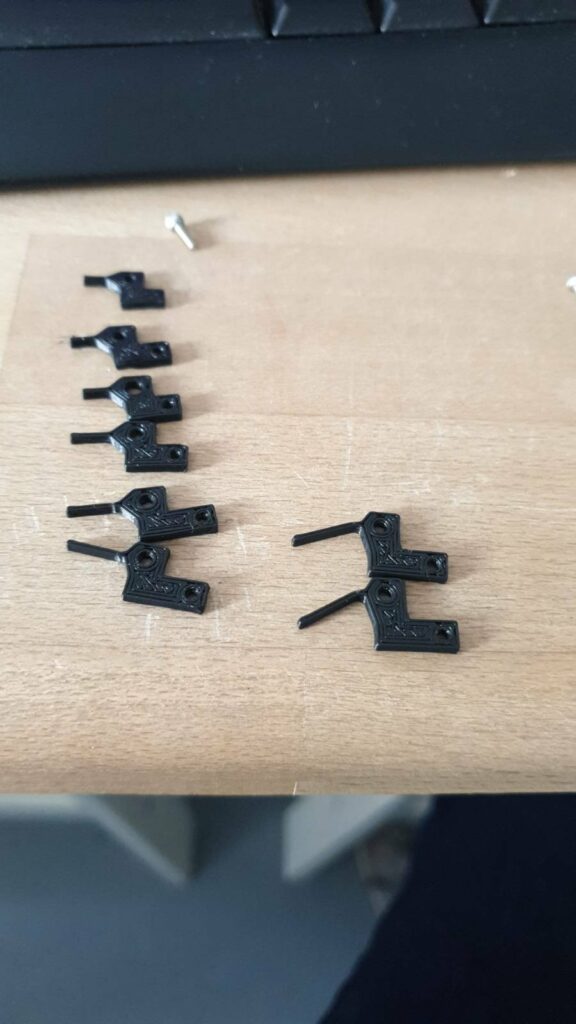

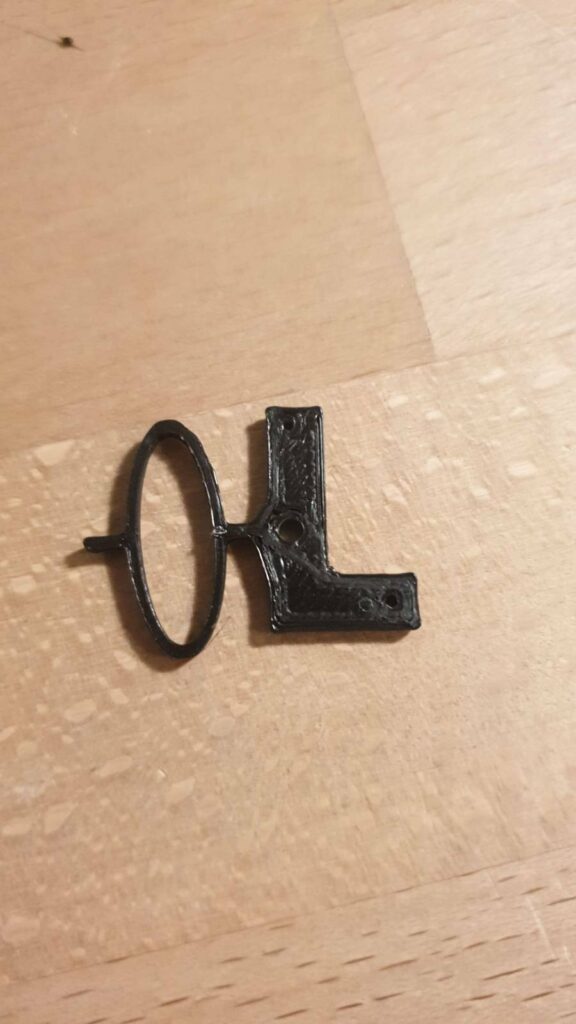
And the prototype of the solution that solved the fatigue problem:
From here on, the project quickly started to gain shape and I found a fantastic tutorial on how to connect loads of servos to an Arduino: https://www.the-diy-life.com/connect-up-to-992-servos-to-an-arduino-using-just-2-pins/
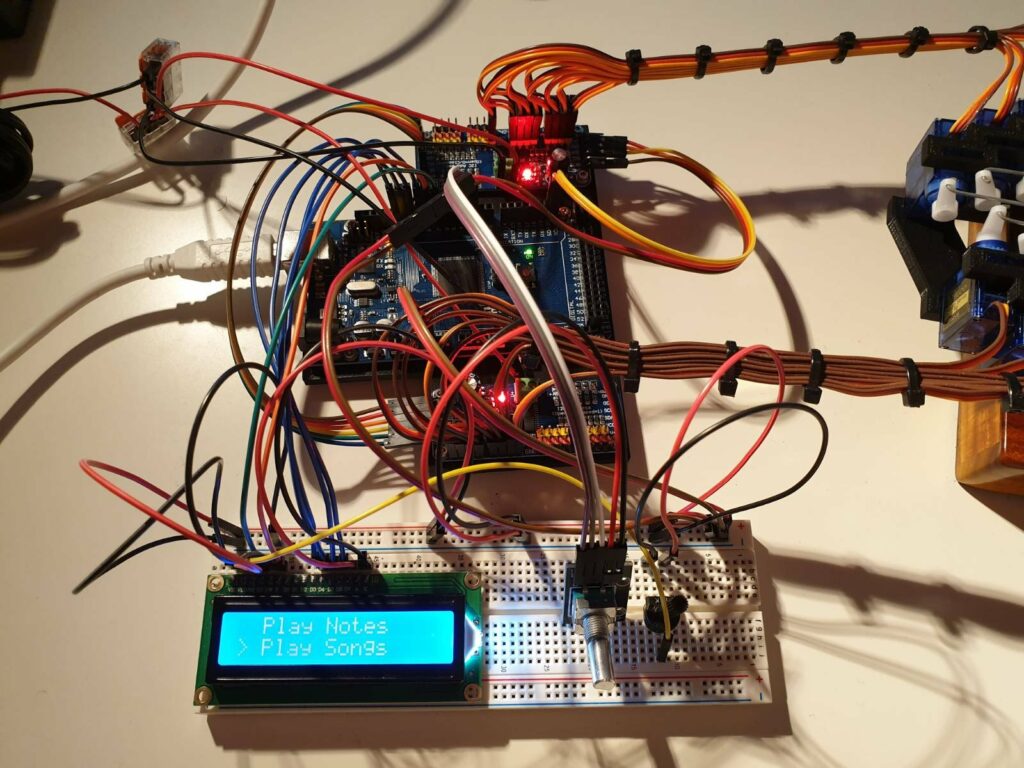
Next I designed and 3D printed a custom PCB mount, to avoid electrical short and with some garden wire from the hardware store (earlier, I used straightened paper clips), my first working prototype was functioning.
For the first tests, I arranged the notes and the offsets for each song all by hand, and figured that I need a more efficient way to do this. So I started looking into midi. I even started writing my own midi parser when I stumbled across a beautiful open source project called DryWetMidi (https://melanchall.github.io/drywetmidi/). They did all the heavy lifting of parsing midi files so I only had to write a transcriber to port the parsed midi to the format which my Kalimba robot was using. I noticed that, without any deep knowledge about midi, I solved the core concept exactly the same. Play note X, wait amount Y, for polyphone notes, the second note is just played very shortly after the first note which we humans do not notice.
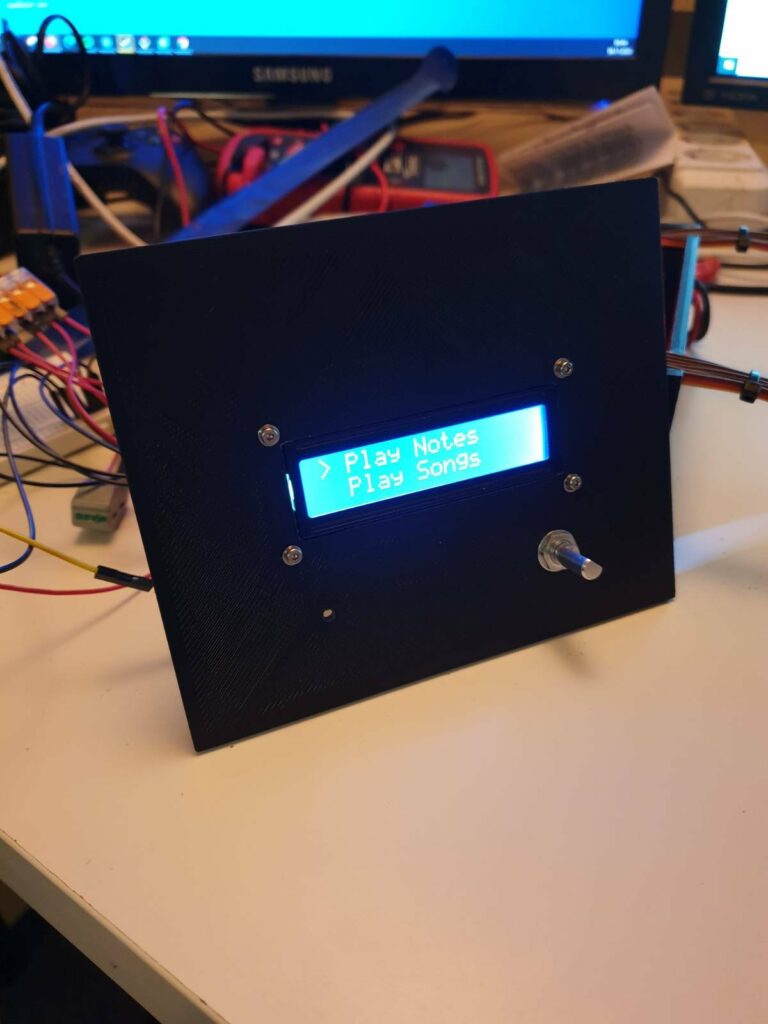
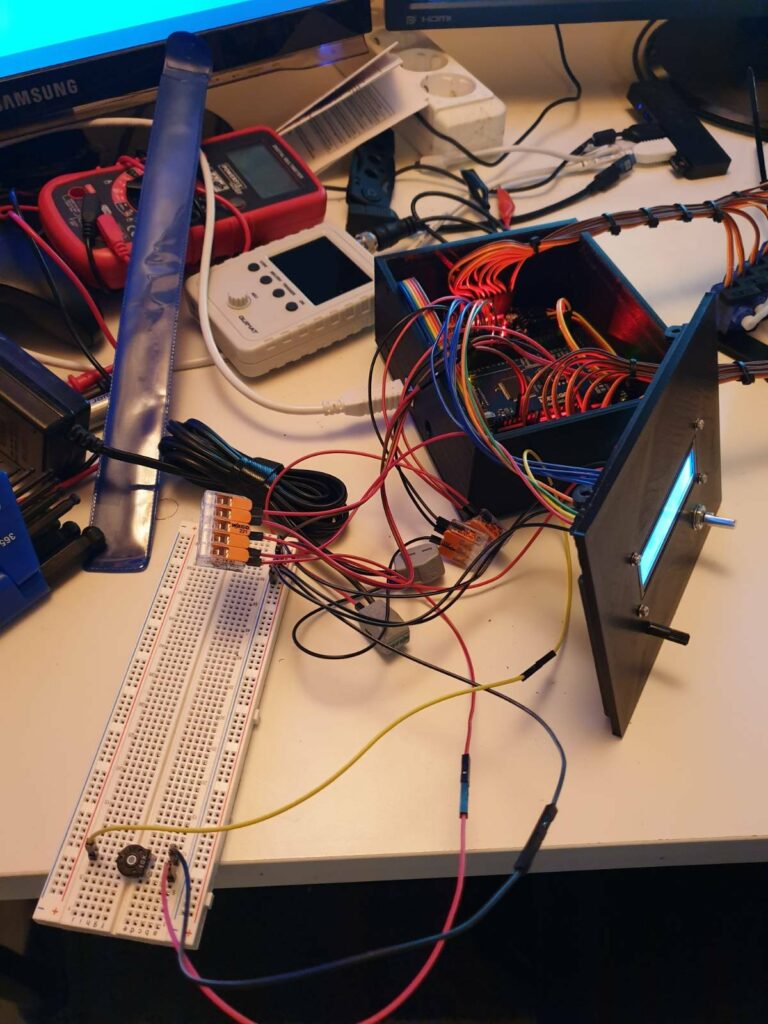
At this point, the project was more or less wrapped up, when a friend invited me for dinner and asked me to bring the robot with me, and I had to admit that the project is pretty dull while it’s not connected to a computer. Since I had lots of pieces left in my starter kit, I thought why not add an LCD screen and a rotary encoder to the project and make it have a menu where you can select from a few songs without it being attached to any PC. To get the cables out of sight and to make it portable again, I also designed and 3D printed a custom box where everything would fit in snugly.
A few months later, I was playing on my midi keyboard and thought why not use it to control my Kalimba robot. After an evening of coding and again with the help of DryWetMidi, I was successful and now the Kalimba can be played using a Keyboard because why not 🙂
All files are open source on my github either under CC0 or MIT.
The kalimba robot with its firmware:
https://github.com/0x3b29/Electric-Kalimba
The tool to convert midi into my kalimba format:
https://github.com/0x3b29/Midi-to-Kalimba
The tool to connect the midi keyboard to my kalimba robot:
https://github.com/0x3b29/Midi-Keyboard-To-Kalimba
As an Arduino developer, I am passionate about creating unique and practical solutions for my clients. If you have a similar project in mind, I would love to discuss it with you. Please get in touch with me.